If you live in an old or just plain cold home, you’re probably wincing at the thought of your electricity bills this winter. I feel ya.
I live in an old house and I love it.
I love how the high ceilings give a feeling of space, even though it’s a small house.
I adore the wooden doors that were standard when my house was constructed in the 1940s.
That said, older homes aren’t best for the environment or our wallets.
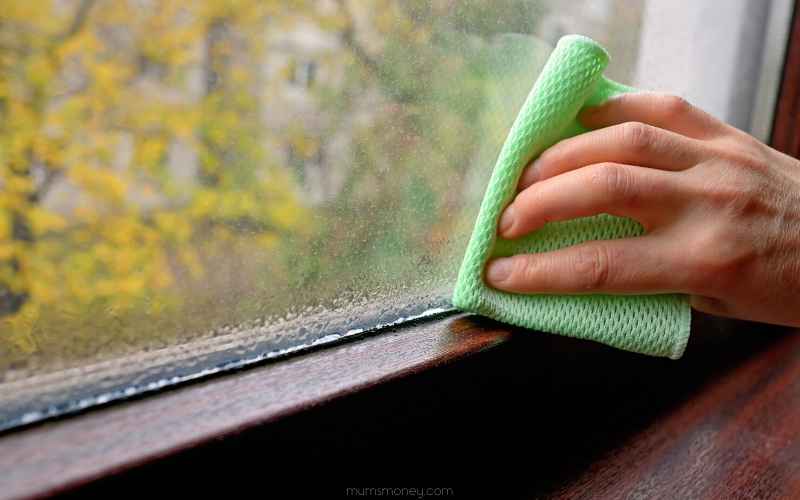
This is especially true in wintertime when draughts and gaps become prevalent.
7 Cheap Ways to Winterise Your Home
The past few winters, we’ve tried some new, cheap ways to get our home winter-ready and reduce our electricity bill.
The results have been excellent.
We’ve spent less on our monthly bills, whilst living in a warmer and drier home.
Here’s how:
1. Window Insulation Kit
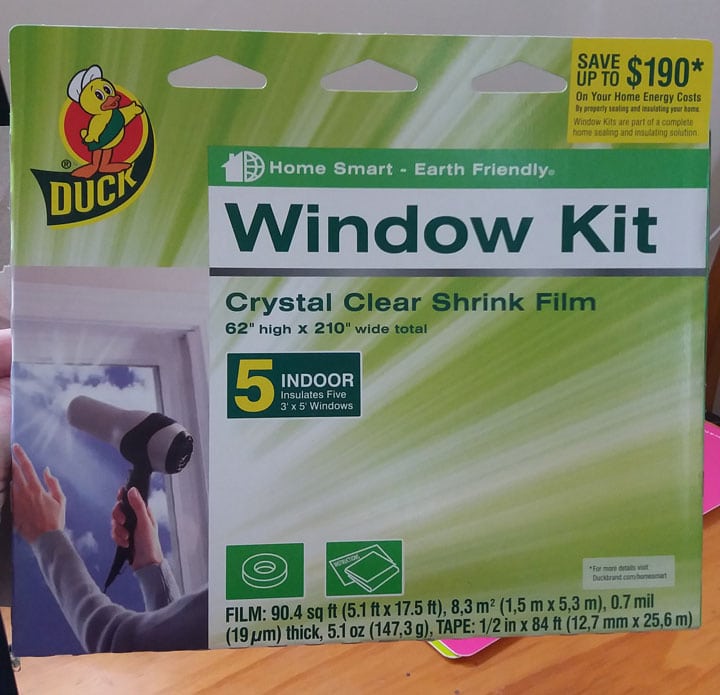
This is number 1 for a reason! This Duck Window Kit is truly magic.
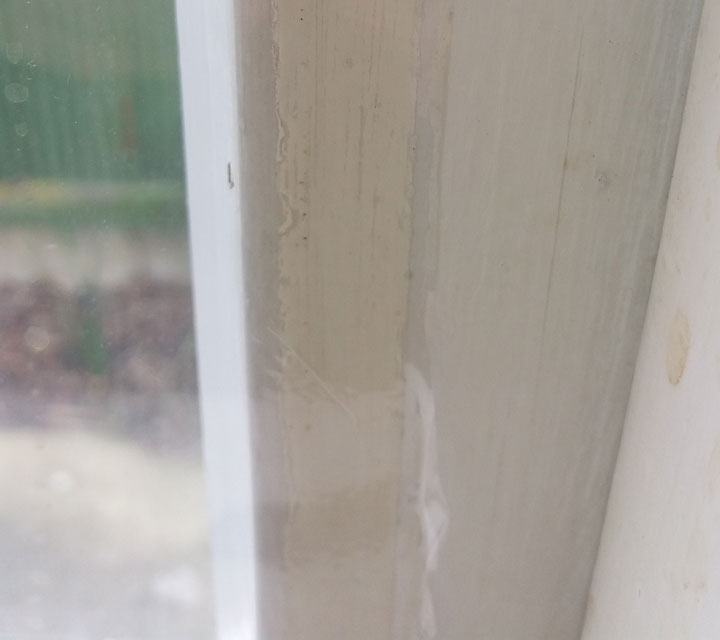
We don’t have the budget for new windows (plus I think modern windows look a bit weird in old, wooden houses), but the cold almost radiates off our single-glazed windows, especially at night.
As my son’s bed is near the window, I needed a quick solution.
I could not believe my luck when I found the Duck Window Shrink Film.
The kit consists of clear shrink film and double-sided tape.
Essentially, you run double-sided tape along the outside edge of the window.
Then you measure and cut the film to fit the window (with around 50mm or 2 inches extra) and press it onto the double-sided tape.
The final step is going over the film with a hairdryer to remove any bunching or wrinkles.
We found that this step made the film very taut.
I’ll admit I was sceptical that plastic film would work, but after reading Duck Window kit reviews online, I figured it was worth the punt.
The result: We all slept better with the heater on the lowest setting, and the next morning, there was no condensation on either of our bedroom windows (we only put the film in the bedrooms).
We hadn’t put plastic insulation on our living room window, and it had condensation, so we knew the lack of condensation in the bedrooms was a direct result of the window film application.
Can you believe that?
Drier and warmer bedrooms for under $40.
Note: You do need to reinstall the window insulator kit each year as the plastic becomes saggy and ineffective.
Some of our windows have lasted two winters with the same film, but for the best results, budget to replace the film annually.
Interestingly, we’ve since had a quote for retrofitted double glazing, and it came to over $ 9,000, so spending $40 and a couple of hours each winter is a huge money saver.
2. Add Insulation
Think of insulation as adding a woolly jumper to your house.
It helps to keep the heat in and also with noise, which is a godsend if you’re living in a small home with kids.
In our home, we have Terralana wool insulation in the ceiling and under our wooden floorboards.
We had no insulation in the walls, but since we renovated rooms and added new gib board (drywall for my US friends), we’ve put insulation in.
That said, the walls weren’t necessary.
If my budget were limited, I would focus solely on putting insulation in the ceiling, as it is “generally the easiest, cheapest, and most effective insulation to install“ (Energywise).
That’s because heat rises, so insulation helps to retain heat within a room, rather than let it escape through the ceiling.
There are still grants available for adding insulation. See if you qualify here.

3. DIY Underfloor Insulation with Rugs or Mats
If your home has wooden or tiled floors, you might be surprised how much warmth is lost through them during winter.
A simple and cost-effective solution is to lay down rugs or mats in living areas, bedrooms, and even hallways.
Not only do they add a cosy touch, but they also help block cold air rising from below.
You can often find affordable options at Kmart, Bunnings, or op shops, making this a practical fix that looks good and keeps your toes warm too.
If the budget is super tight, you might even score some old carpet for free that will get you through the winter.
People often give away their old carpet when doing renovations to save on the dumping fees, so keep an eye out for local groups and Facebook Marketplace.
Before we did the renovations and when money was tight, our living room floor was covered in three overlapping, old, and ugly rugs that we got for free.
They were a trip hazard and looked awful, but they kept the rooms warm.
4. Use Thick Curtains or Add Thermal Liners
One of the easiest and most affordable ways to keep warmth inside your home is by using thick, heavy curtains, especially over large windows and sliding doors.
If replacing curtains isn’t in the budget, consider adding thermal curtain liners, which can sometimes be found cheaply at places like The Warehouse, Spotlight, Temu, or even second-hand stores.
The extra layer helps trap heat and blocks cold air from seeping in, making your living space noticeably warmer without cranking up the heater.
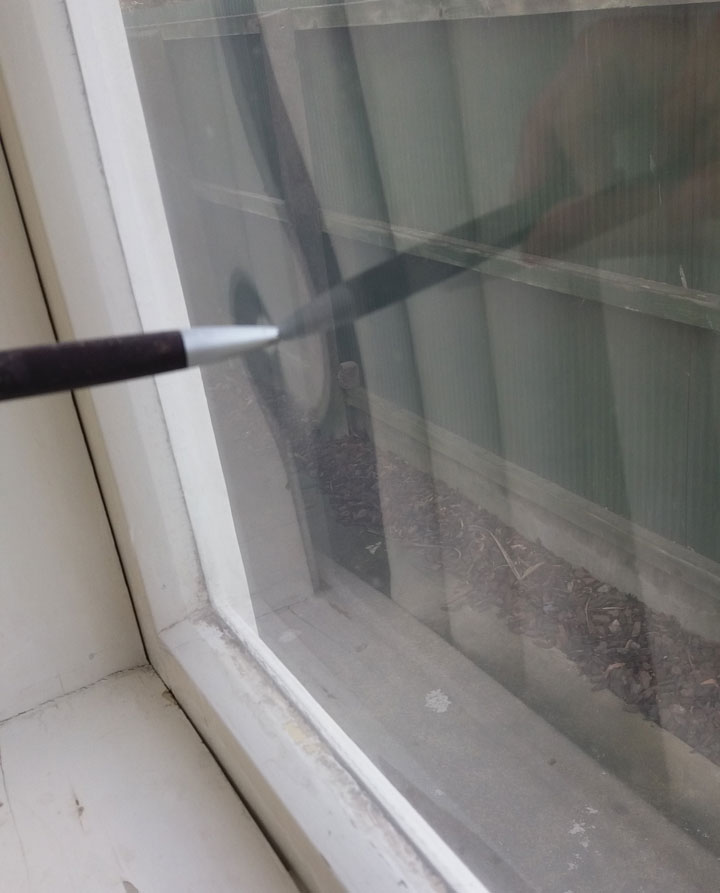
5. Seal Draughts Around Doors and Windows
Draughts are one of the biggest culprits when it comes to heat loss in New Zealand homes, especially in older houses with wooden joinery.
A quick and inexpensive fix is to seal those gaps using self-adhesive weatherstripping, foam tape, or V-seal—readily available at Bunnings, Mitre 10, or even The Warehouse.
For the bottom of doors, a door snake or rolled-up towel works wonders to block cold air creeping in.
Your front and back doors are huge culprits when it comes to letting in draughts. Installing a door sweep is a quick, affordable way to fix this.
Door sweeps are easy to attach and create a snug seal against the floor.
6. Switch to LED bulbs

You’ll need the lights on for longer during the winter so even though it feels like a small thing, switching to LED bulbs can really help your power bill.
I’ve tried to approach the LED issue as frugally as possible.
First, I was only replacing with LED Bulbs when my old 60–75 watt incandescent bulbs blew.
That’s because LED’s are expensive.
But when I got a 3-pack for $21, I quickly switched out the bulbs where we use them the most – in the kitchen, living room, and bedroom lamps.
I’m more inclined to change my incandescent bulbs, as I have some CFL bulbs which are still going strong.
If you’re unsure whether to make the switch, check out this tool from EnergyWise.co.nz
7. Reverse Your Ceiling Fan or Use a Fan to Circulate Warm Air
It might sound odd, but a ceiling fan can actually help warm your home in winter—if used the right way.
Many ceiling fans have a small switch on the base that lets you reverse the direction of the blades.
In winter, setting the fan to spin clockwise at a low speed helps push the warm air that rises to the ceiling back down into the room.
Even if you don’t have a ceiling fan, you can still use a standard oscillating fan on a low setting to help move warm air from your heat pump or fireplace more evenly throughout your space.
It’s a free or very low-cost trick that can make a noticeable difference, especially in rooms with high ceilings or poor heat circulation.
Living in an old house can be tough on the finances.
Optimising your living space to be as energy efficient as possible helps retain natural heat and reduces your electricity spend, which in turn helps reduce your carbon footprint and save you money.
Everybody wins!
What are your top ways to winterise your home?
Related: You might be eligible for a Winter Energy Payment – Find Out More Here